No Products in the Cart
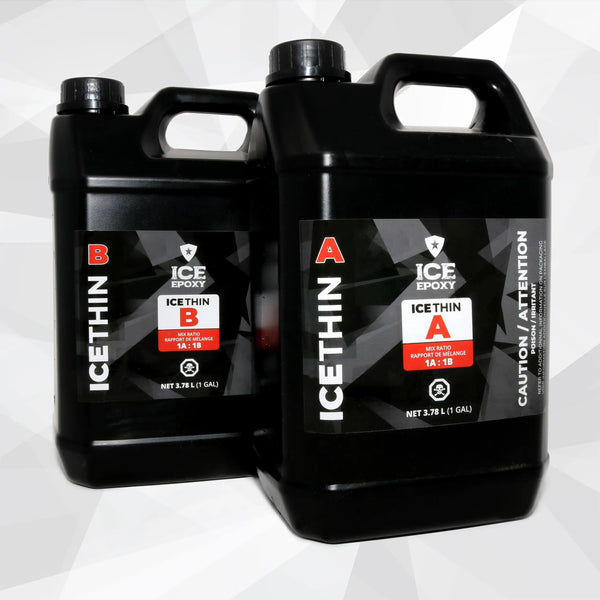
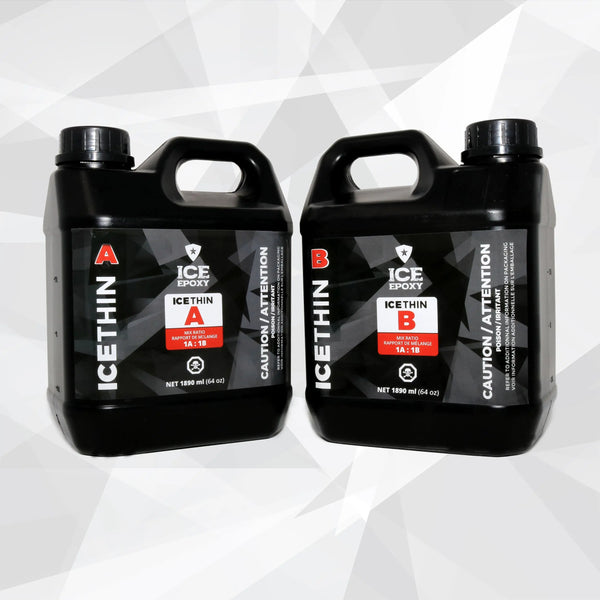
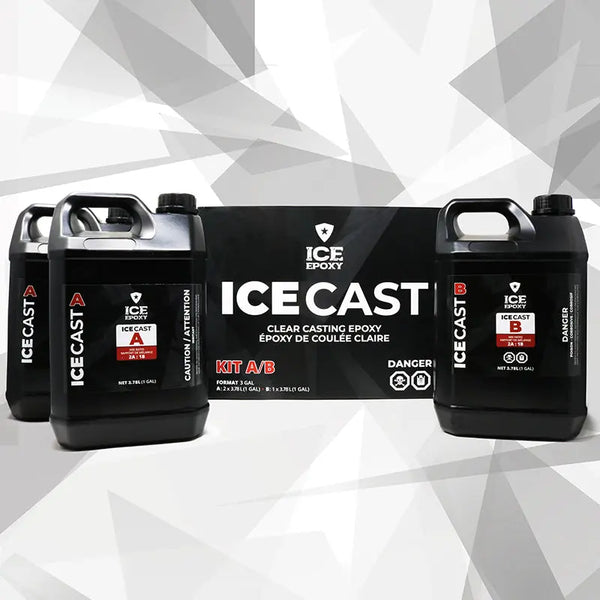
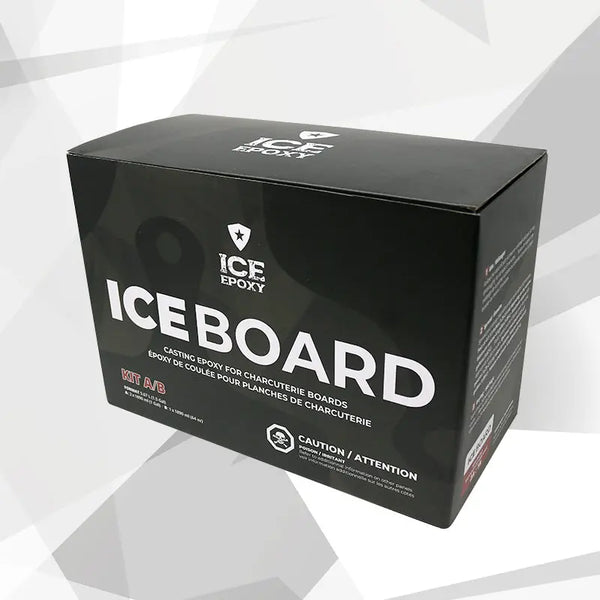
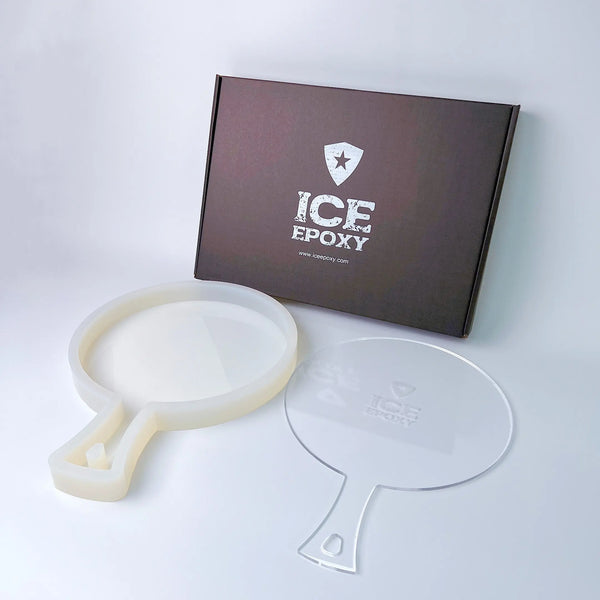
We are a leading North American manufacturer of high-quality casting epoxy used to make woodworks and crafts. Our products are also competitively priced – so you get both high quality and cost-effectiveness.
We carry out ongoing testing to make sure that our products meet the most stringent standards and provide the best performance.
SHOP NOW →